
Setting Netdata server monitoring with password authentication on Apache proxy.
Password protected server monitoring.
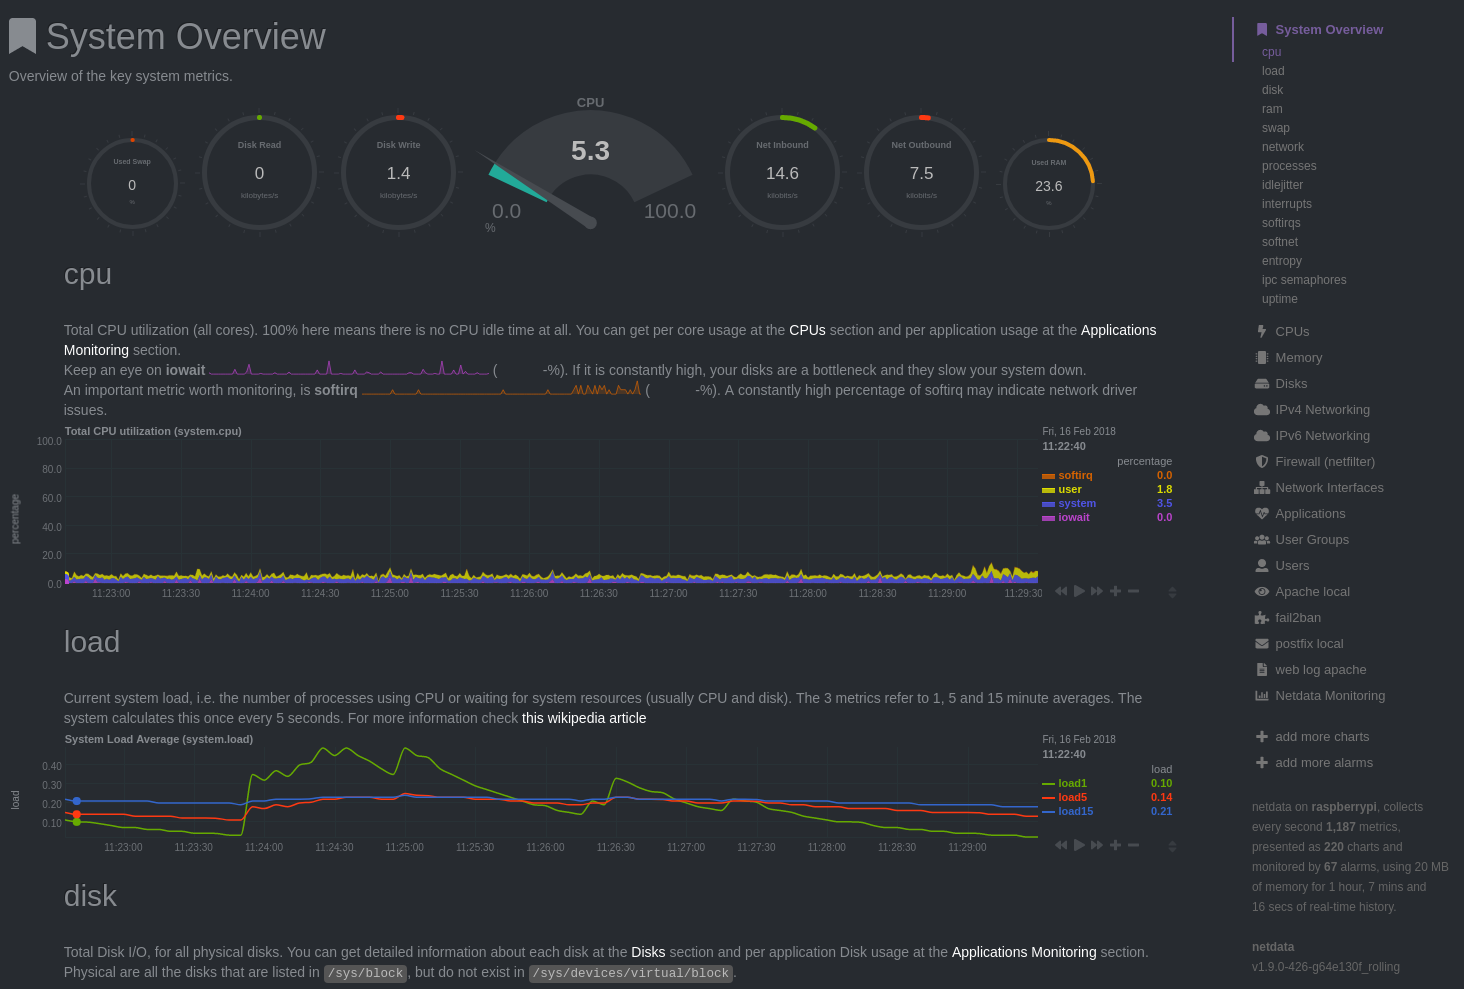
Netdata, a beautiful, lightweight, monitoring tool.
What do we want?
The aim of this tutorial is to allow the monitoring of a Linux server through apache not using other ports than 80/443 (443 is used here) in a way that the local 127.0.0.1:19999 will be accessible only from www.example.com/netdata previous authentication.
Netdata installation
The first thing needed is netdata installed on the server.
To do so you can either run:
# bash <(curl -Ss https://my-netdata.io/kickstart.sh)
or you can visit Netdata Github installer page for other instructions and details.
Once you have done you should have an output like this.

Now you should be able to see the netdata page on the http:/IP:19999
If the server is under iptables protection you need to add a rule for INPUT packets:
#sudo iptables -A INPUT -p tcp --dport 19999 -j ACCEPT
Apache configuration
We need to create a new Virtual Host which will proxy all the requests coming to a specified external URL through our netdata local page.
We first need to install some modules for Apache:
#sudo apt install libxml2-dev libapache2-mod-proxy-htmlThen we need to activate some mods:
#sudo a2enmod proxy
#sudo a2enmod proxy_html
#sudo a2enmod proxy_http
#sudo a2enmod xml2enc
If you already have a vhost with your www.example.com and SSL configuration use that (in my case is default-ssl.conf) located in /etc/apache2/sites-available/
You will have something starting similar to this
<IfModule mod_ssl.c>
        <VirtualHost _default_:443>
                ServerAdmin webmaster@localhost
                ServerName bestrockers.ddns.net

                DocumentRoot /var/www

                SSLEngine on

                ....
                ....
Just add at the end these lines right before the end of VirtualHost tag
            RewriteEngine on
            ProxyRequests Off
            <proxy>
                Order deny,allow
                Allow from all
            </proxy>

            ProxyPass "/netdata/" "http://netdata-ip:19999/" connectiontimeout=5 timeout=30
            ProxyPassReverse "/netdata/" "http://netdata-ip:19999/"

            <location /netdata/>
                AuthType Basic
                AuthName "Restricted Content"
                AuthUserFile /etc/apache2/.htpasswd
                Require valid-user
                Order deny,allow
                Allow from all
            </location>
And create the directory /var/www/netdata (as is your config).
NOTE: if you don't have a vhost configured for SSL/TLS for your domain go here for a quick guide.
Now we are going to create the credentials for accessing the html page
Install apache2-utils if you don't have already and create a netdata user
#sudo apt install apache2-utils
#sudo htpasswd -c /etc/apache2/.htpasswd netdata
You have to insert the password for the user 'netdata' twice.
Finally restart apache2
#sudo systemctl restart apache2Add a rule to block netdata on port 19999
#sudo iptables -I INPUT -p tcp --dport 19999 -j DROPNow you can go to www.example.com/netdata (as your vhost ServerName is) to access your logs under HTTPS and password protection.
**Please feel free to make any comment! If anything is unclear, just write in the comment and I will update the post!Thanks for reading!**